Bevel Edge Chisels
Buyers Guide to Bevel Edge Chisels
The bevel edge wood chisel is an extremely useful tool for a wide variety of woodworking applications: in fact if you’re doing anything that involves cutting, shaping, fitting or joining wooden materials, you’re probably going to find yourself needing one at some point. In this Bevel Edge Chisel Basics guide we’ll go over some of the things you can use them for as well as some of the things to look out for when choosing them.
Why Are they called Bevel Edge Chisels?
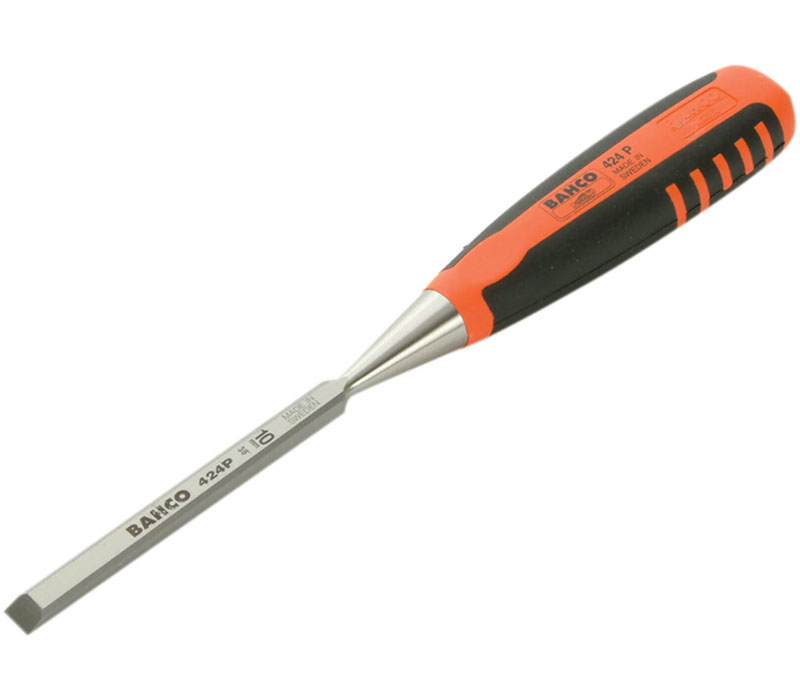
A bevel edge woodworking chisel has bevelled edges on either side, as well as the bevelled cutting edge at the front. They are so ubiquitous that most people probably won’t come across any other type of woodworking chisel; However, they weren’t always a common type and for a long time a flat sided type known as a firmer chisel would have been the standard option. The main disadvantage of flat sided chisels becomes apparent when you need to get right into the edge of a cut that has a slope of less than 90 degrees – something that is necessary when cutting dovetail joints, and which requires a bevelled edge to fit into the tighter space. During the last 200 years or so, bevel edge chisels started to become much more widespread and began to supersede the firmer chisel until it was virtually obsolete (they are still manufactured, but in much smaller numbers – and generally used for more heavy duty applications). You can also get specialised carving and joinery tools like woodturning chisels, mortise chisels and the like, but the bevel edge chisel is now by far the most common wood chisel for general purpose use.
What Can You Use Bevel Edge Chisels For?
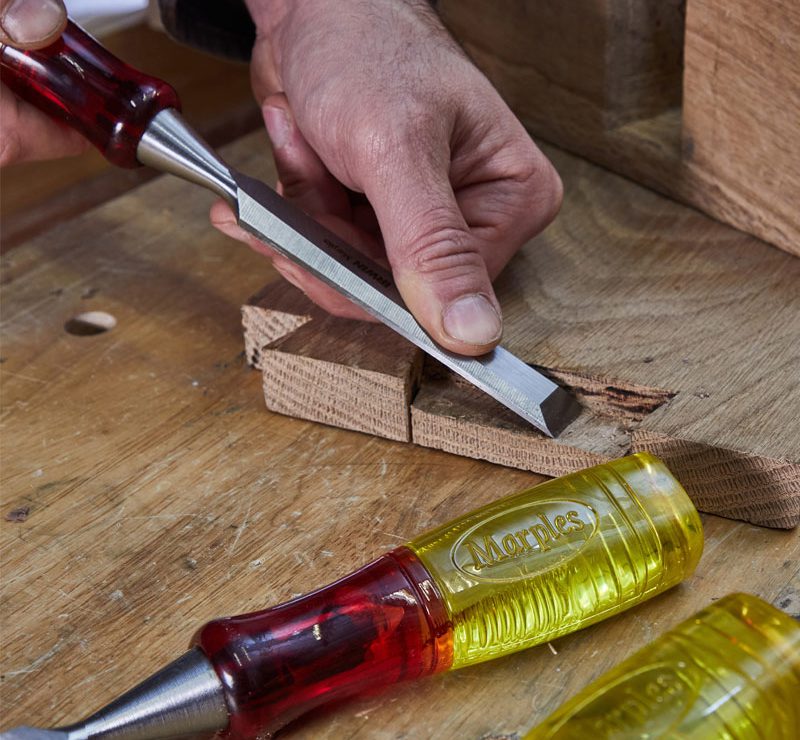
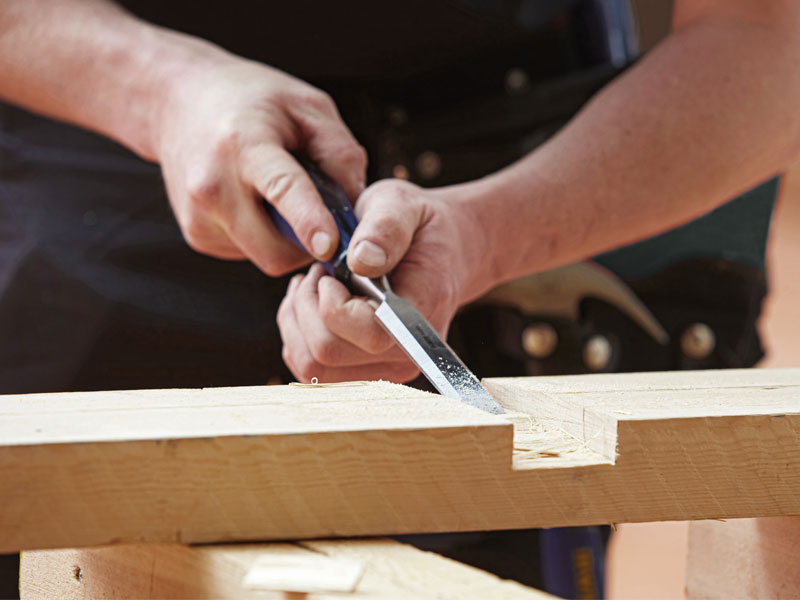
There are two common ways in which a bevel edge chisel is used – you can either work it into the material by hand, shaving or slicing off small portions: a technique which is known as paring, or alternatively you can strike it with a mallet or hammer, enabling it to chop into the work to carve out recesses (be careful with this last point, as not all chisels are equal in this regard and we’ll get onto that shortly).

These two actions can be used to make a wide variety of woodworking joints from scratch, and chisels are also used to clean up rough edges or excess material to get a perfect fit or a neater finish. For the home DIYer, a typical application might be fitting door hardware like hinges and latches: with a sharp chisel at your disposal you’ll be able to cut out perfect recesses so the hardware sits flush to the surface when you screw it in place.
What Type of Handle Do I Need?
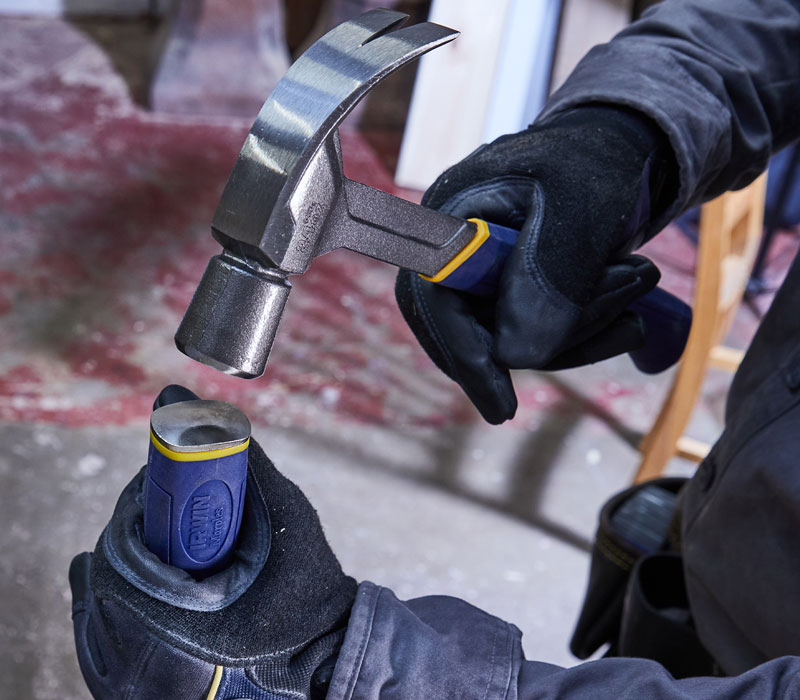
A wooden carpenters mallet is what you’d traditionally use to strike a chisel, and with good reason. Start hitting an old fashioned chisel with a metal hammer and it won’t be long before you’ve broken the handle. They simply weren’t made to withstand hard impacts, but has the technology improved since then?

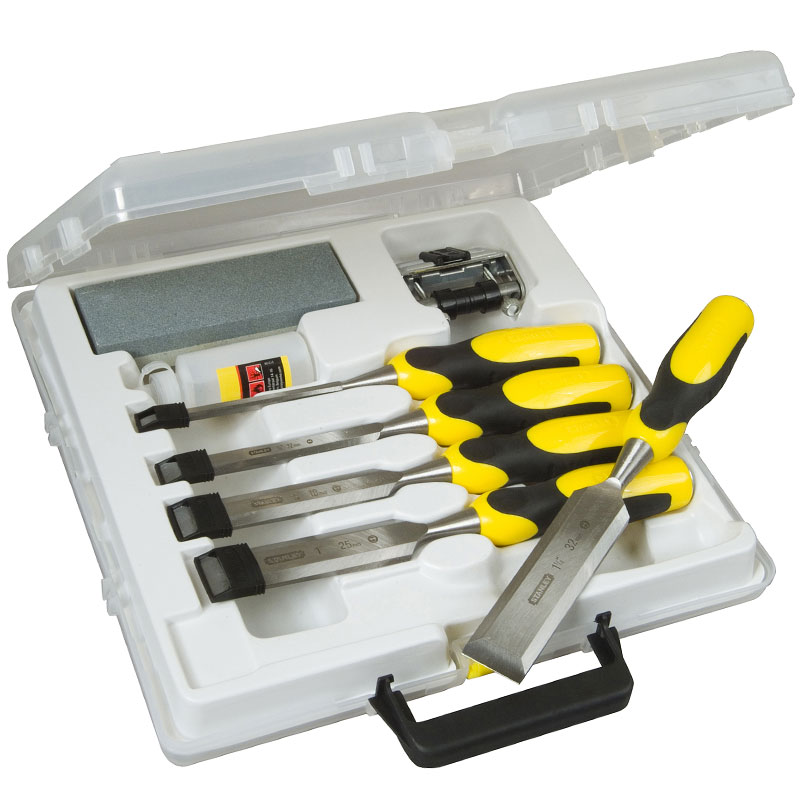
The good news is that in our modern era it is possible to find chisels that are purposefully designed to withstand being beaten on with a hammer, but not all of them are made this way. If you can see a metal striking cap on the end of the handle, that’s usually an indication it has a solid metal core which can take a fair amount of abuse, but if it has a standard plastic or wooden handle it’s safe to assume you should only really be using a mallet if you want to carry on using it for any length of time.
How Many Chisels Do I Need?
In most applications, you’ll ideally want to use a chisel with a size that corresponds closely to the dimensions you’re working with, ie the largest one that will comfortably fit. Not only does this make it easier to get a clean cut and straight edges, but it will help you to work a lot more efficiently. Partly due to this reason, woodworkers tend to amass huge collections of various sizes of chisels, and while a jobsite carpenter or DIYer might not feel the same inclination, you’re probably going to need more than one. A set of at least three is probably a good starting point and with a versatile selection of sizes you’ll be able to tackle precision jobs as well as heavier stock removal.
Keeping Your Chisels Sharp
Sharpening is an essential skill to master if you want to keep your chisels in working condition, and in fact you’ll often have to do this on a brand new chisel to get it in perfect working order. If you’re a complete sharpening novice, it’s probably a good idea to invest in a kit that includes a honing guide – this enables you to consistently roll the chisel over the sharpening stone at a fixed angle so you get a clean, crisp, sharp edge every time.
Storing and Transporting Chisels
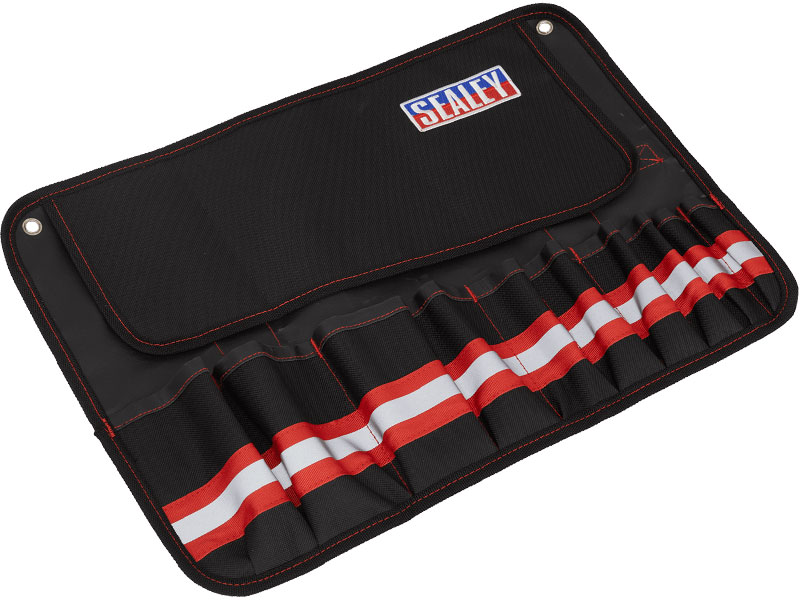
So you’ve put in the time and effort to sharpen up all your chisels, and they’re cutting perfectly. But you’ll quickly undo all your hard work if you simply throw them all into a tool box at the end of the day. To prevent the cutting edge from getting blunted or damaged, its imperative to store your chisels in something that keeps them protected in between uses. If you’ve bought an all-in-one set, it will probably supplied with a storage wallet or a wooden box which does just that. But if you’re building up a collection if individual chisels, it’s worth buying or making some kind of dedicated storage solution that keeps them separate from your other tools – if you’re based in a workshop many people will rig up some kind of wall holder to keep them organised, or for mobile use, a leather or fabric tool roll is a popular option.
categories mentioned in this article:
I agree with your points, excellent post.