

Choosing the Best Mixing Drill
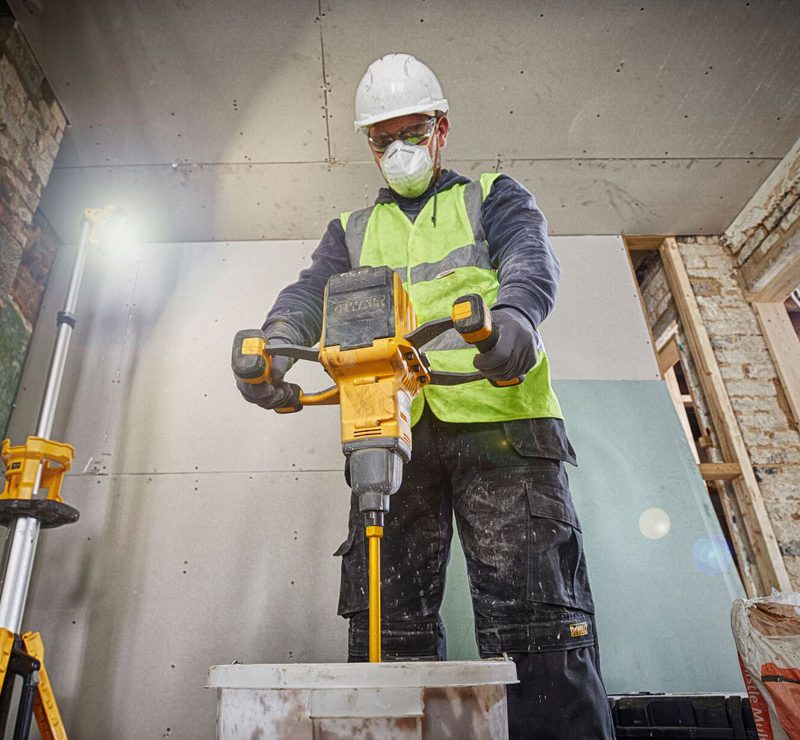
While a regular electric drill is a versatile machine which can fulfil a lot of different roles, the mixing drill is a lot more specialised and generally speaking it can only really do one thing. They go by lots of different names – whisks, mixer drills, mixing drills and paddle mixers being some of the most common ones, and they function a bit like giant food processors. Typically used when adding water to dry materials like bags of plaster or adhesive powder, they can also be used for thoroughly mixing paints and for other similar applications. In this guide we’ll go through some of the reasons you might want to add a mixing drill to your tool kit and what to look for when choosing one.
Do I need a Mixing Drill?
For many trade professionals, a mixing drill will be something that gets used virtually every day. However they might seem like a bit of an extravagance to the average DIYer. It may be tempting to think that for one off jobs you’ll be better off spending the money elsewhere and giving your arms a good workout instead, but is there any downside to mixing by hand?
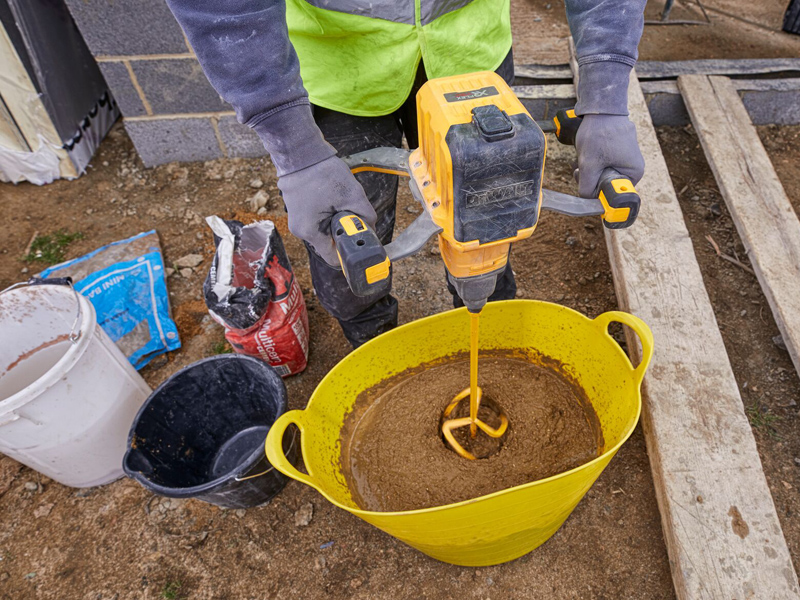
It really depends on the materials you’re mixing, and the quantities you need. Mixing up a custom paint colour to fill in a small area is probably not going to wear anyone out, but you’ll find that to get the right consistency for thicker coatings like render, tile adhesive and plaster takes a lot more physical effort, and time. What makes it more problematic is that you’re racing against the clock as soon as you’ve added the water because you want to start getting it laid on before it starts firming up to the point where its no longer usable. This means that for anything bigger than small patch jobs, its definitely wise to save your arms for the application process (which can be pretty exhausting by itself) and get your materials thoroughly whipped up into shape by a machine instead.
Can I Use a Regular Drill as a Mixing Drill?

Yes, if your drill has an SDS chuck or a regular adjustable chuck, you’ll find that compatible mixing paddles, or adaptors to fit them, are readily available. However, while they’ll save your arms and speed up the process compared to mixing by hand, it’s generally best to use this solution only for lighter applications like mixing up small batches of grout or paint.
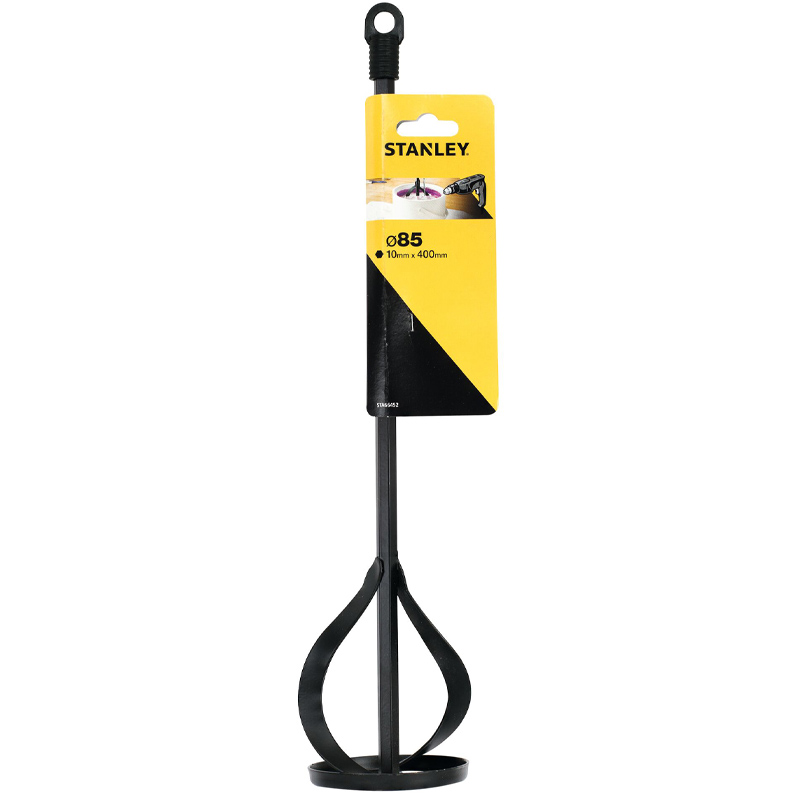
The first reason for this is that the vast majority of handheld drills are only designed to cope with the load from fairly small diameter drill bits. Spinning a large metal paddle through a mass of thick gloop can place a serious strain on the motor of a smaller machine, and you’ll find that most of the attachments designed to chuck into a standard drill are smaller and lighter than those designed to screw into a mixing drill. This in itself tends to be a bit of a limitation on how much they can realistically cope with, but bear in mind that sustained periods of heavy duty mixing mixing are probably going to wear out all but the most powerful drills.
Secondly, its not only the load conditions which are detrimental to the health of your regular drill, but it’s all the stuff they’ll end up breathing in as well. The dust from unmixed materials can be especially bad since it will react with moisture to start hardening inside the machine, as well as working its way into many of the components and causing premature failure. A decent mixing drill on the other hand should have been purpose designed for exactly these kinds of conditions, with suitably dust-resistant components like bearings and switches, as well as appropriately routed ventilation channels that will hopefully keep it going for years without issues.
Choosing a Mixing Drill
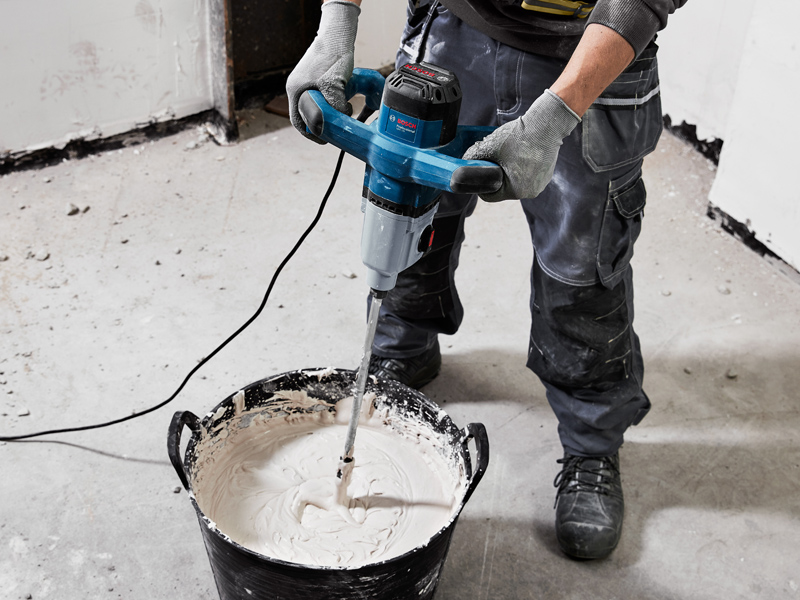
What should you look for if you decide to invest in a dedicated mixing drill? First we can start with what’s familiar to most of them. You’ll find that most are fitted with an M14 thread which you screw the paddle into. This allows for easy disassembly or replacement, and for swapping out attachments such as paddles with a different diameter or length, and this also means that the accessories are widely interchangeable between brands. But here are some variables to consider before making a purchase.
Choosing a Mixing Drill: DIY or Professional
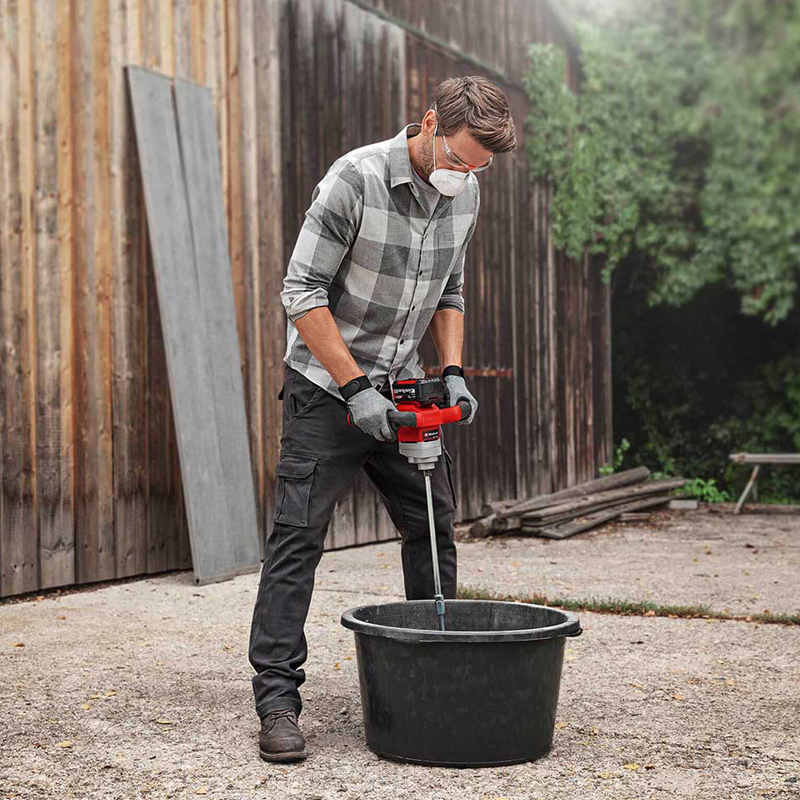
Like all power tools, mixing drills are available in either a DIY or Professional class. This doesn’t mean that the second group should only be used by trained professionals but rather it refers to what the warranty covers. Since a DIYer won’t have anywhere near the same workload as a contractor, they’re probably not going to want to spend the same amount of money on something which is designed to cope with being used in jobsite environments five days a week. The DIY grade versions have a lighter build quality but come with a much more affordable price tag – however bear in mind that the warranty will be void if they are purchased for any kind of commercial enterprise as opposed to purely domestic use.
Corded or Cordless
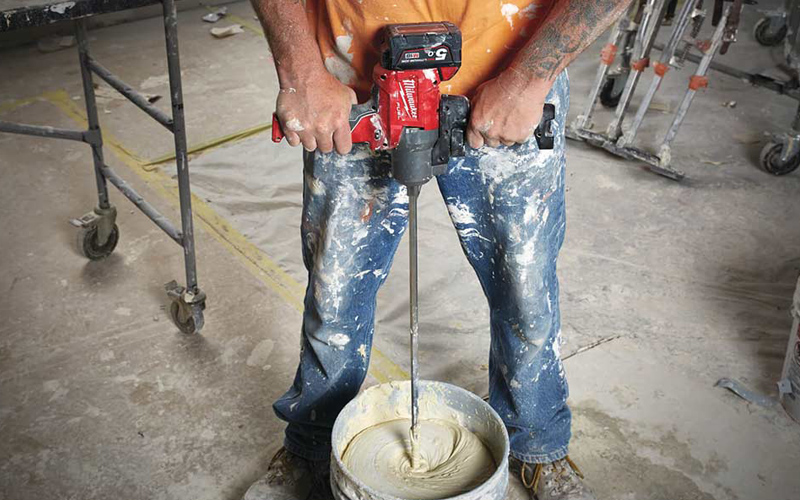
Not so long ago, this wouldn’t have been a decision anyone was forced to make since cordless mixing drills simply didn’t exist. But thanks to increasingly powerful battery technology they’re now very much an option, and some people who’ve made the switch wouldn’t want to work without them. Not only do they give you the freedom to work on any kind of jobsite without having to worry about finding a suitable place to plug in, but they make it much easier to get materials mixed up outside and keep interior surfaces clean from dust and splashes. They can also be viewed as a safer alternative to the mains powered types, from both an electric shock and a trip hazard perspective. Bear in mind that cordless mixing drills really started to come into their own with higher voltage platforms like DeWalt Flexvolt (54V) and Makita XGT (40V): while you can get cordless mixing drills that run on the smaller and more common 18V or 20V batteries, they are not going to be as powerful and will be best suited to smaller workloads.
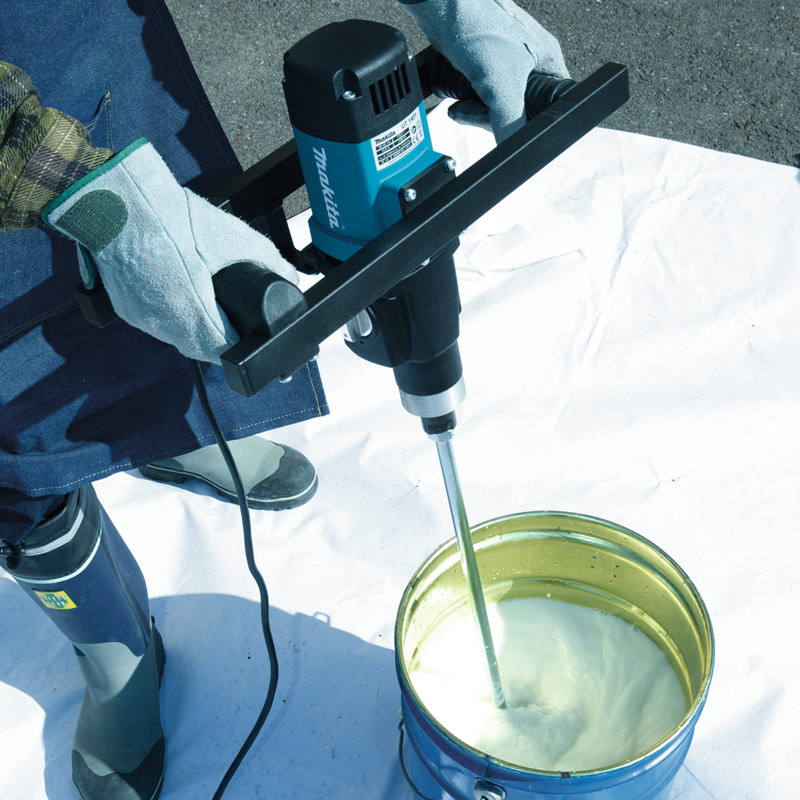
Most mixing drills are still corded though, and since you only really have to stand over a bucket and switch them on, this in itself is not much of a hindrance to every day use. They do have their advantages too: you don’t need to worry about recharging or replacing batteries, and they will be cheaper both in initial outlay as well as ongoing running costs. However, if you’re buying a corded machine, there is an additional choice you might be faced with in terms of voltage.
110V or 240V
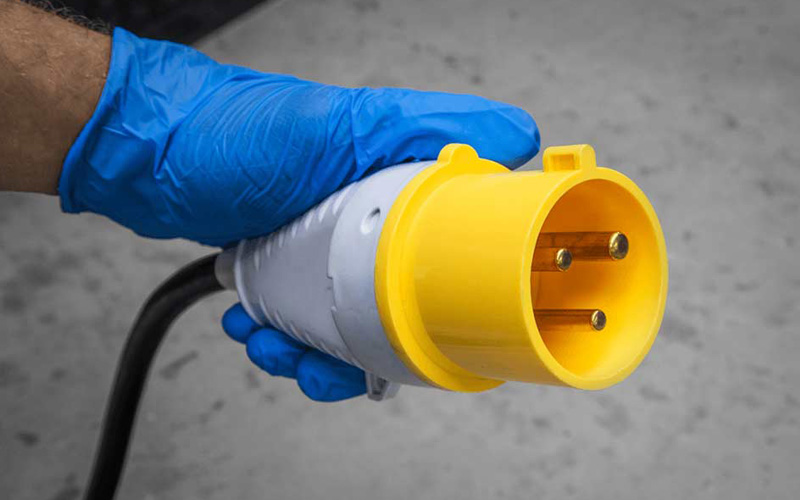
Anyone who’s worked in construction environments will probably be familiar with 110V site equipment but other people may not fully understand what this is. Its important to note that a 110V machine will come fitted with a round yellow plug which is purpose built for use with a site transformer and these machines won’t work with the standard domestic power supply. If you want something that plugs into a mains socket you’ll need to look for something that’s described as being 230V or 240V, and these will come with a regular mains plug attached.
Speed Settings
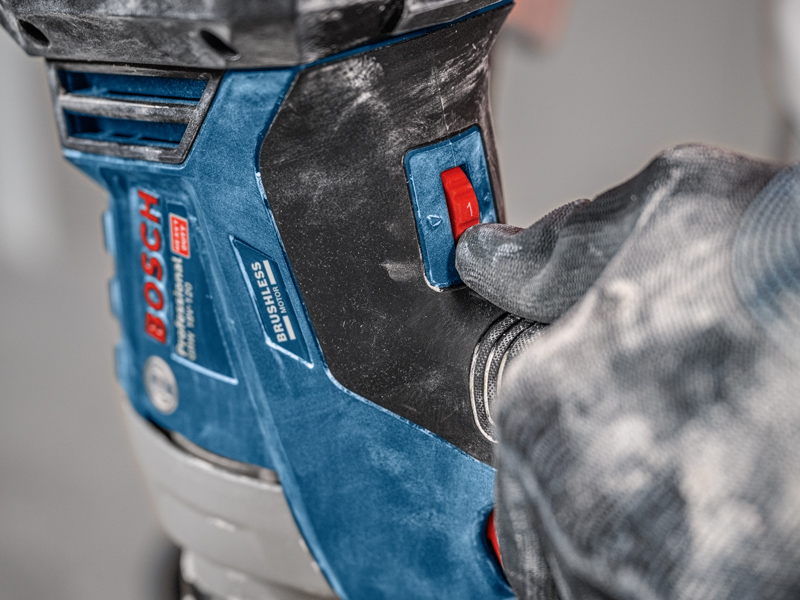
Most mixing drills being produced today will have a variable speed trigger, and some higher end machines may also have different gear settings for switching between low speed and high speed operation. Many will also feature a soft start, which means that the motor gently ramps up to speed each time, rather than jolting into life suddenly. Having a slow speed on startup is essential if you want to prevent violent splashes or clouds of dust from being thrown out as soon as you pull the trigger, but equally the higher speed settings can get you a much smoother blend while also allowing you to start getting it laid on faster; in fact, a machine with a slower top speed can be frustrating to use – especially for professionals who are used to mixing up big batches at a time. So the more control you have over the speed the better.
Gears
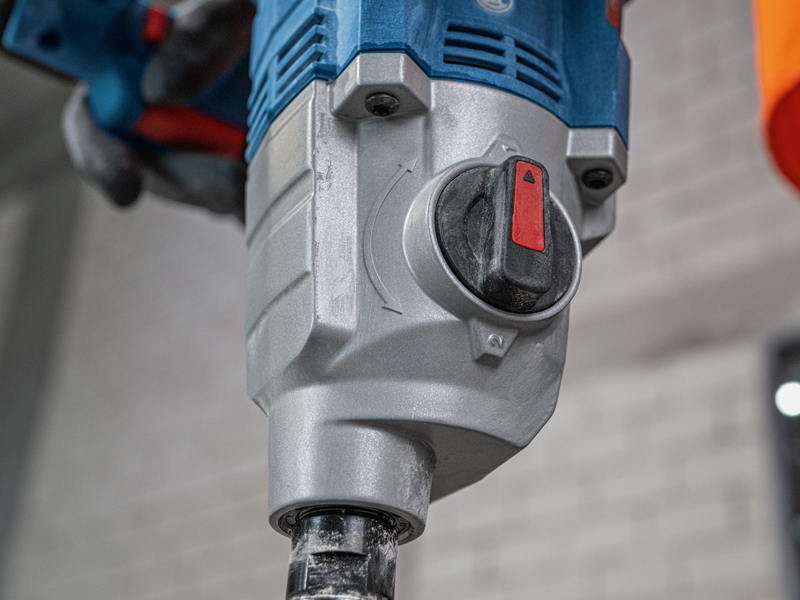
As mentioned in the previous paragraph, some mixing drills will have a choice of two or more gears, and a mixer with two gears will often be sold as a “two speed” machine. However the gears don’t only affect the speed at which the paddle spins but also how much torque, or turning force is transferred through it. A lower gear slows down the speed but increases the torque, meaning that the mixer can churn through thicker and heavier compounds without getting stuck. However for lighter and more fluid mixes when you don’t need as much power, switching to a higher gear reduces the torque but increases your speed range instead. Most entry level machines will be single speed designs but if you’re going to be working with a lot of different materials and especially with more challenging, viscous types such as epoxy resins, a mixer with two or more gears will be a good investment.
Types of Mixing Paddle
The vast majority of mixing drills have an M14 threaded spindle, meaning that a variety of aftermarket accessories are interchangeable between them (although you should check the specifications to ascertain the maximum size the machine is rated to be used with). Although you might assume that all mixing paddles are designed to do the same thing, there are actually a few different designs and each type is intended to deliver best results in specific applications. Some of the most common ones are as follow:
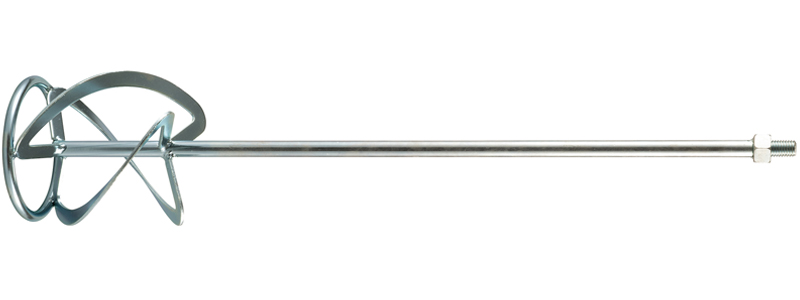
- Upwards Action (Bottom to Top) Mixing Paddles: these work by continuously drawing the material upwards from the bottom of the bucket while mixing it, and are designed to create a more consistent and thorough blend when there are heavy particles like sand or grit which have a tendency to sink to the bottom. Ideal for cement, plaster, render etc.
- Downwards Action (Top to Bottom) Mixing Paddles: these work in the opposite way by continuously pushing the material down, and are intended to prevent more fluid substances from splashing upwards out of the bucket. Ideal for lighter materials like paints and surface treatments.
- Sidewards Action (Straight) Mixing Paddles: these are less commonly encountered but much easier to distinguish since they resemble the whisk from an old fashioned egg beater. This design helps to ensure an especially smooth and lump-free finish so may be preferred for finer work or for challenging materials which are prone to clump together. They also come with another advantage which is that they are much easier to keep clean. Ideal for self levelling and jointing compounds, adhesives etc.
- Double Mixing Paddles: these require a purpose built double paddle mixer drill to use, and work by counteracting the forces generated by each other as they spin in conjunction. This allows the mixer to be used comfortably in tougher materials since it requires less physical effort to control.
Are there Other Uses for a Mixing Drill Besides Mixing?
With a suitable adaptor, most mixing drills can be easily fitted with a standard drill chuck and theoretically this enables them to be used for a practically limitless range of additional purposes, with whatever kind of accessory you can think of. In reality though, the operating speeds will be much slower than on a standard drill and on top of that the ergonomics are centred around a gravitational pull towards the ground, making it difficult to find many other applications they will be suited to. In fact, the main reason why people usually fit chucks onto them is for using them with the smaller hex shank mixing paddles rather than the screw in types.
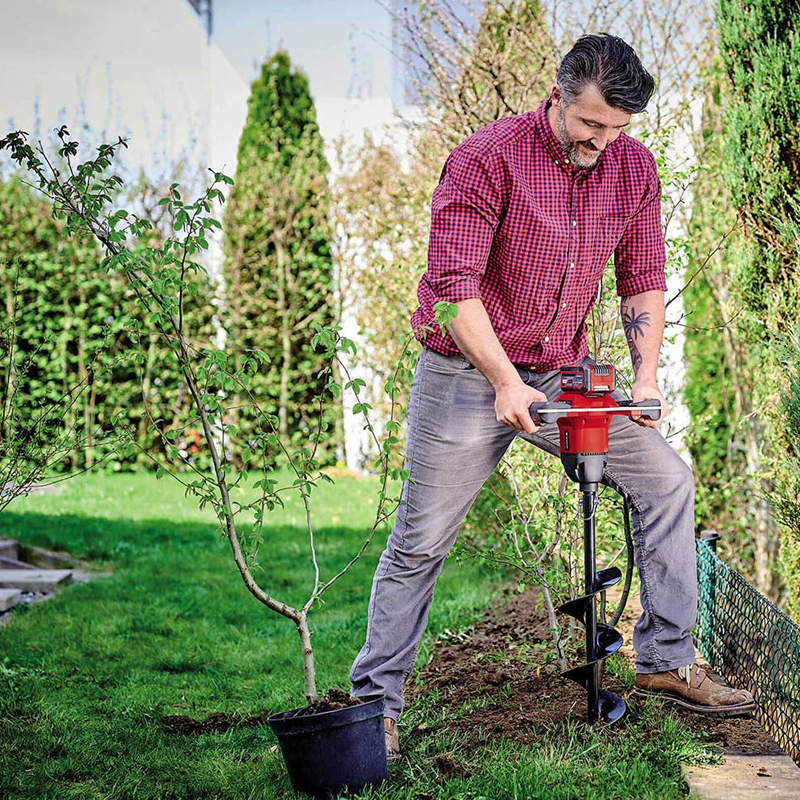
With that being said, there is one drilling operation that’s not a million miles away from paddle mixing and that’s making large diameter holes into the soil with an earth auger drill bit, for example when planting out shrubs or installing fence posts. Machines like the Einhell Professional GP-EA 18/150 Li BL have an accessory system which features earth auger drill bits and paddle mixers as interchangeable attachments, and allow you to use the same machine for both of these jobs.
Categories mentioned in this article: